
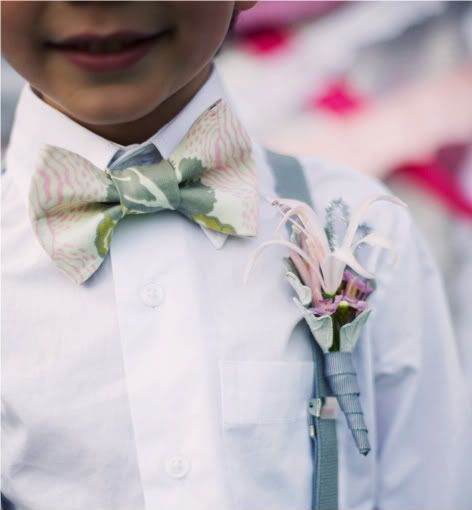
See the whole gorgeous shoot on Martha Stewart Weddings here and get the full DIY for how to sew a clip-on bowtie for a boy after the jump...
How to Make A Bowtie
You'll need some fabric and a teensy bit of lightweight interfacing for the bow. There are two different ways to sew a bow tie, in this DIY. See the measurements for each item below.
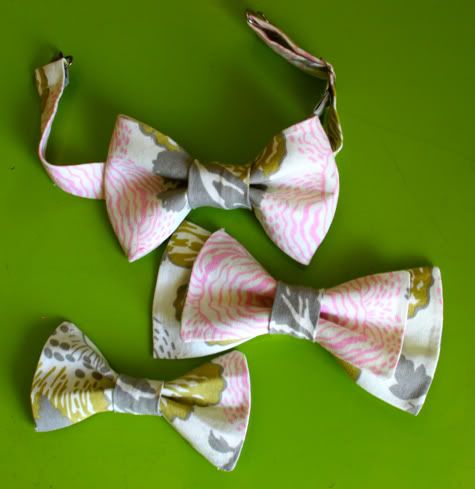
Simple Bow Tie & Double Bow Tie

These two use the same method but the big one doubles up. Make 'em any size you want, I like them a little big to give the boy a funky look.
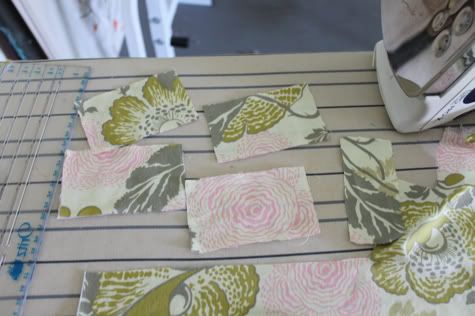
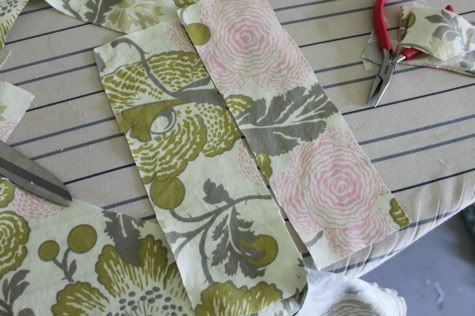
1. For each bow tie cut two rectangles of fabric 1/4" bigger then you want your finished bow tie to be. Mine are 4.25" X 3.25" for the small one. For the big one I also cut two pieces 6.25" X 5.25". You'll also need a piece of fabric for the center of the bow tie 2" wide X 3" long. I eyeballed it after the fact but it should be double the width you want it to be plus 1/2" and the length plus 1/2".
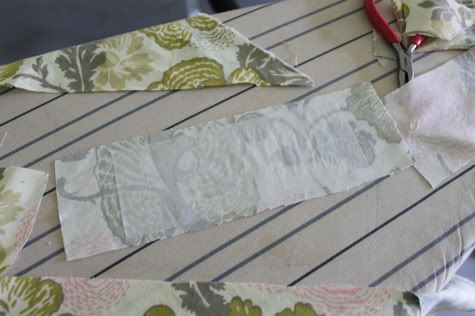
2. Cut a piece of lightweight double-sided interfacing 1/4" smaller then the fabric and iron it to the wrong side of one rectangle.
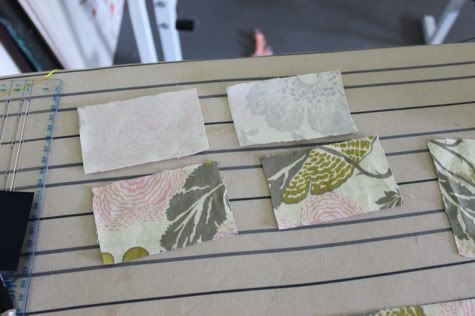
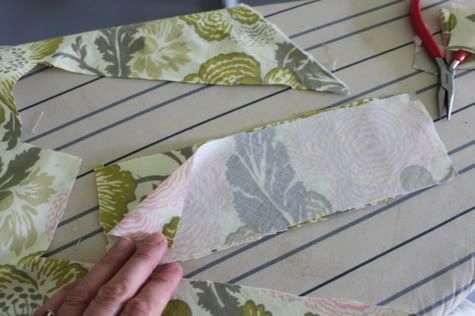
3. Leave the paper on the un-ironed side of your interfacing and pin your rectangles right sides facing.
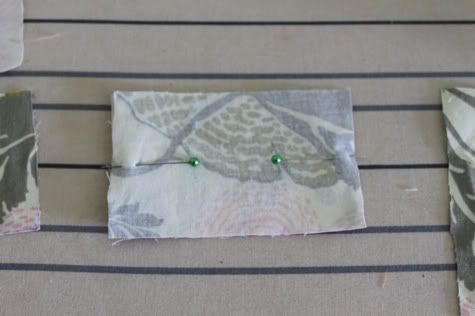
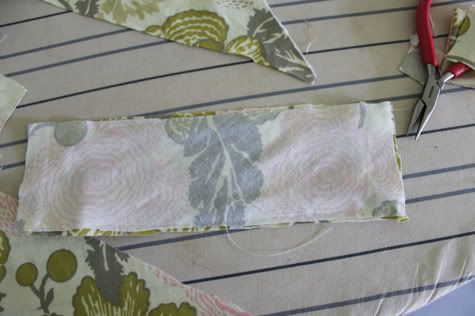
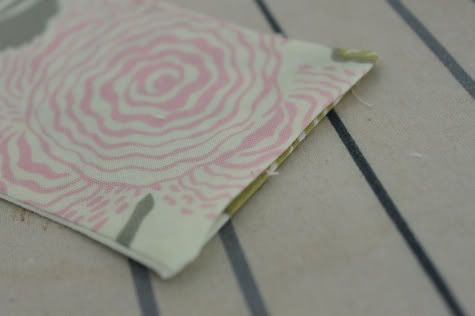
Sew all the way around the edge with 1/8" seam allowance, leaving a hole in the center of one long side for turning, then remove the paper from the interfacing and trim the corners:
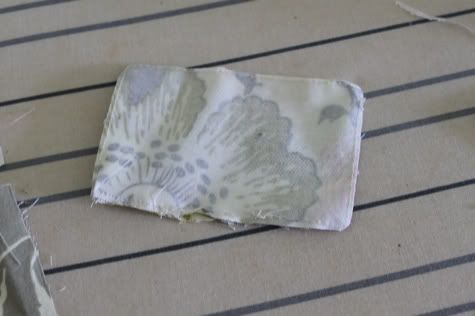
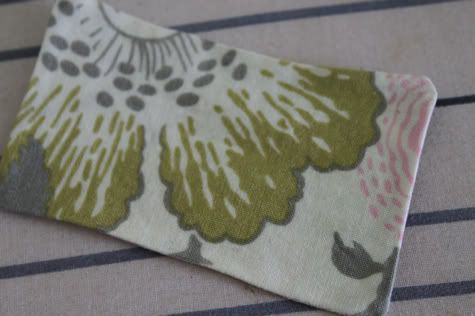
Turn it inside out, push the corners out as sharp as you can, and fold the edges under at the turning hole. Iron it flat, which will attach the interfacing to both sides and give you a stiff rectangle:
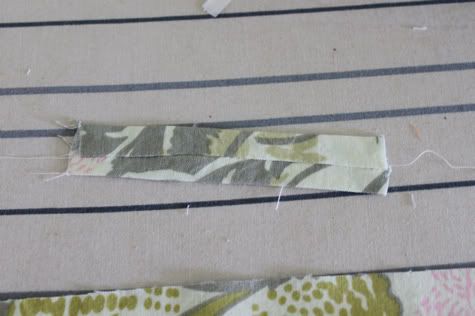
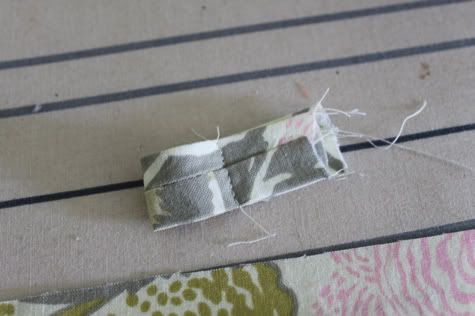
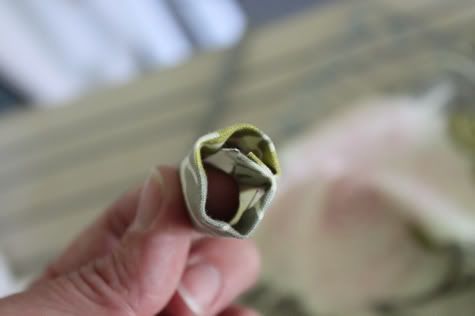
4. Now take your small piece of fabric and fold it in half the long way right sides facing and sew a tube. Turn it right side out and iron it flat with the seam in the middle:
Fold it in half right sides facing and sew together along the short side like so (ignore my huge seam allowance, I cut it off after as I was eyeballing it):
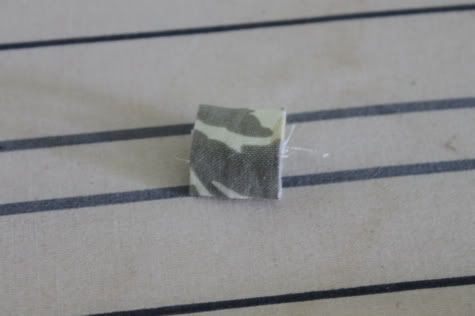
Iron the seam flat:

Turn it right side out:
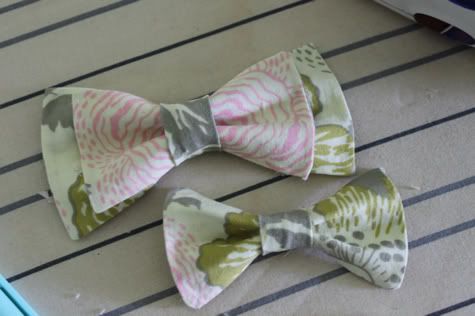
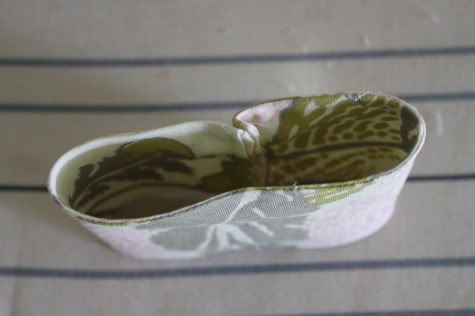
Take your bow (or two bows) and fold them accordion style:
 -
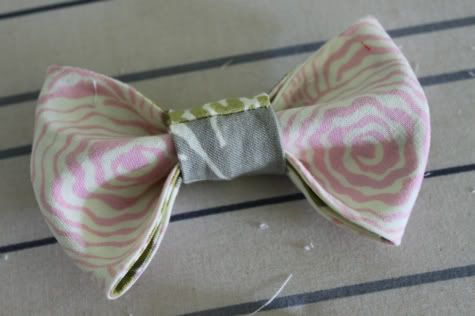
-and slip your tube over them. Arrange your bow tie to your liking:

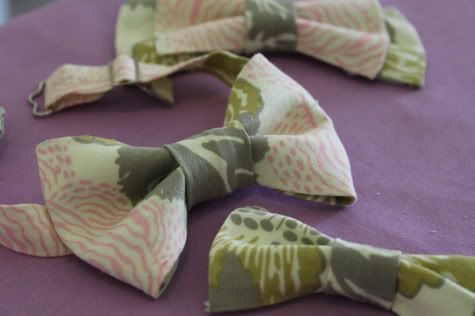
You're done:
Double Fold Bow Tie
This one is my favorite and also the easiest!
1. Cut two long pieces of fabric, double the length you want your bow tie plus 1/2" and the width your want your bow tie plus 1/4". So for mine I cut two pieces of fabric 12.5" long by 3.5" wide.
2. Cut a piece of lightweight double-sided fusible interfacing the size of your finished bow tie (3"x6" for mine) and iron it to the wrong side of one piece of fabric in the center:
3. Leave the paper on the un-ironed side of the interfacing and lay your two pieces of fabric right sides facing:
Sew around the two long sides and one short side:
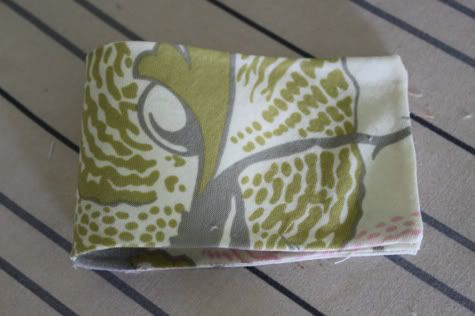
Trim the corners, remove the paper from the interfacing, turn it inside out, poke out the corners, and fold the edges of the unfinished side under. Iron it flat to fuse the interfacing to both sides:
4. Decide which side is the front of your bow tie and fold it in half with that side to the inside:
Sew up the short side:
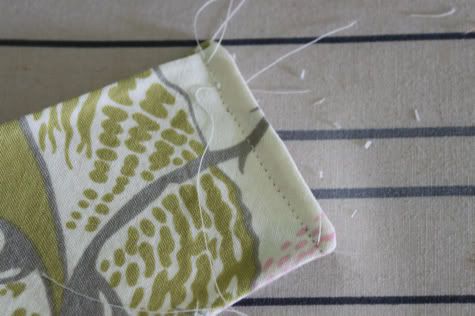
You've created a tube. Turn it inside out and align the seam to the middle of the back:
5. Sew the tube as described in the simple bow tie above:
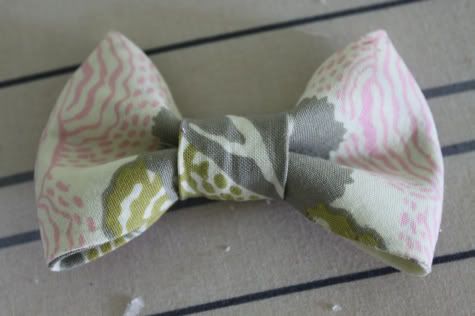
And slide it onto your bow tie with all the seam to the back:
You're done!
The little boys at the party will all look so dang cute wearing these! Oh little MAN I am so so excited!
The little man birthday party planning has officaly begun! Looking at the calendar it's only 1 month away (YIKES!) so I thought I had better get started! Thank you Martha Stewart for this free bow tie pattern! <3
xoxo
No comments:
Post a Comment